

Last updated October 31, 2026
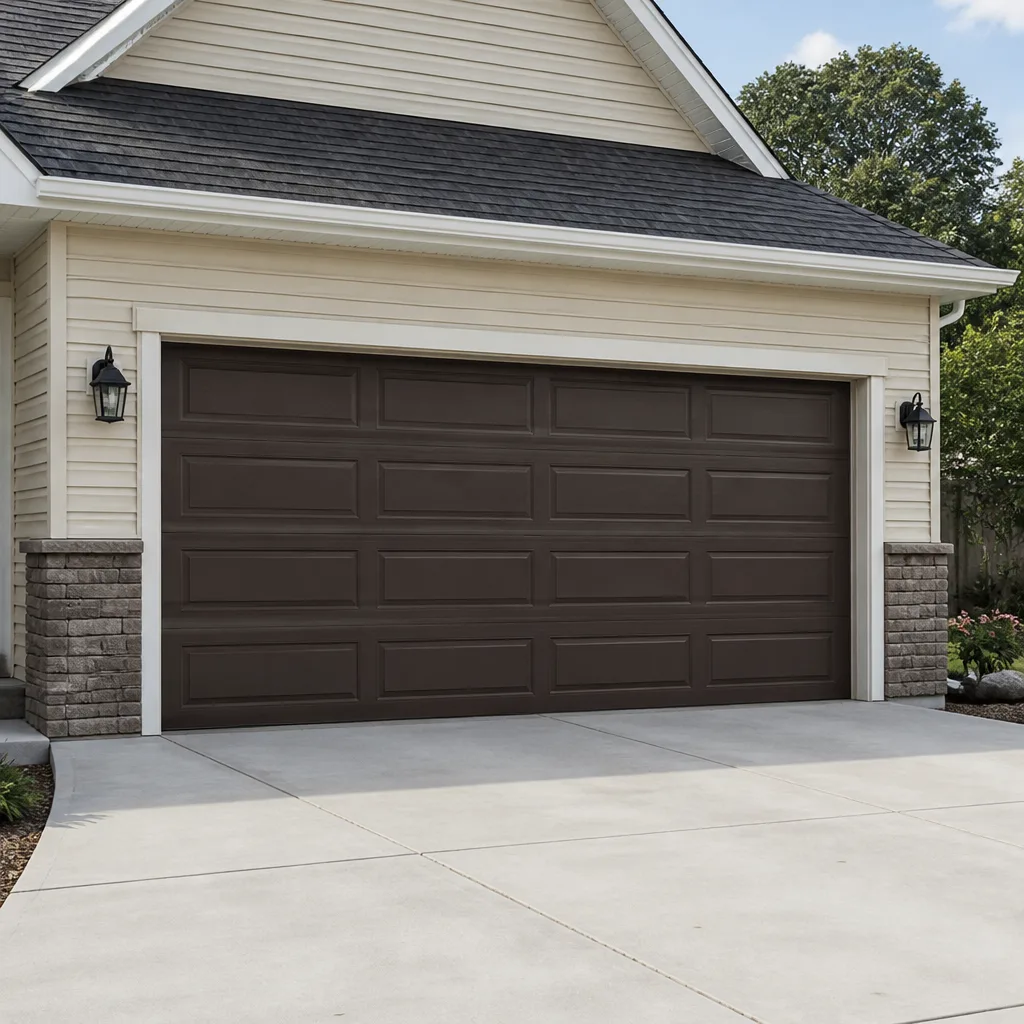 Raised-panel steel
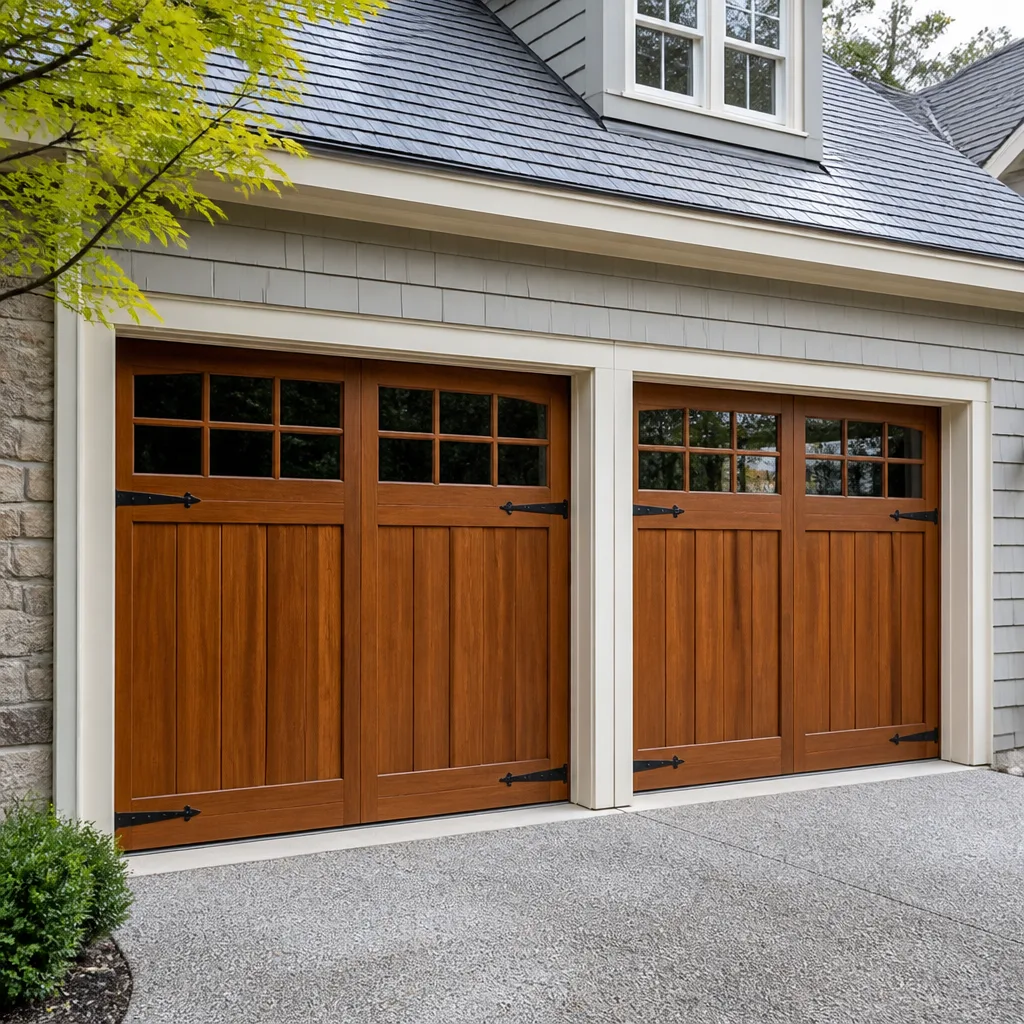 Carriage house
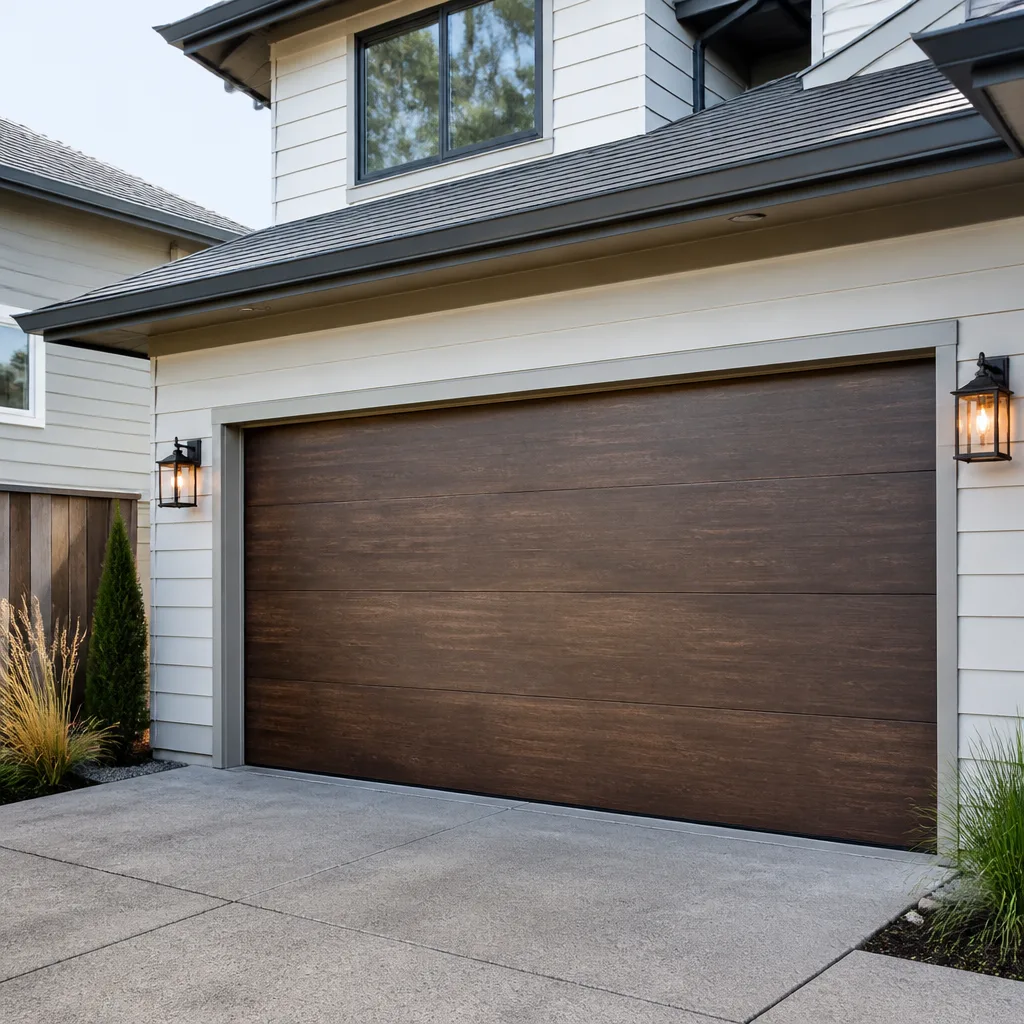 Modern flush
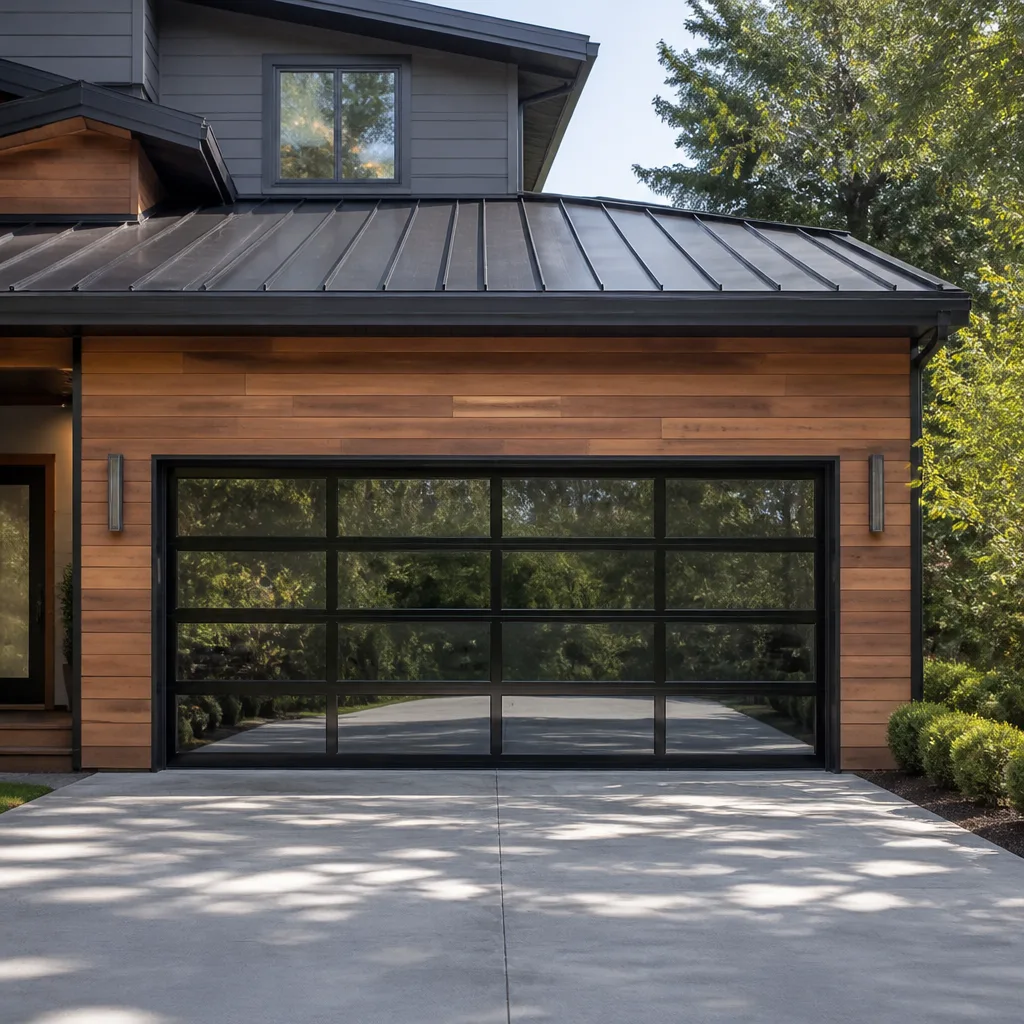 Full-view glass
 LiftMaster openers
 Chamberlain openers
Full 25-point door and opener safety check with every visit - springs, cables, rollers, tracks, and your LiftMaster or Chamberlain opener included
You get a price before we start. It does not change when the truck arrives.
Get your free estimateGarage Door Repair Troubleshooting: Common Problems and How to Fix Them
A garage door that reverses before hitting the floor isn’t broken. It’s communicating a specific fault code through behavior, and roughly 40% of the time the fix is a 90-second limit adjustment, not a new part. The problem is that most troubleshooting guides skip the diagnosis phase entirely and jump straight to part replacement. This guide is different. We’ll teach you to read what your door is actually telling you before you spend a dollar, and we’ll do it from the perspective of technicians who work on garage doors in Miami every day, where salt air and humidity create failure patterns you won’t find in a generic manual.
Quick Answer
Garage door repair troubleshooting starts with a symptom-to-cause diagnosis: loud bangs mean broken springs or cables, grinding indicates worn rollers or misaligned tracks, slow movement points to lubrication or opener force settings, and partial opens usually trace to limit or obstruction issues. The first test you should always run is the manual-release check: pull the red cord while the door is closed, then lift the door by hand. If it’s heavy or won’t stay up, you have a spring problem, not an opener problem. This single distinction saves hundreds in wasted diagnostics.
Styles & brands we work with
Table of Contents
- The Symptom-to-Cause Decision Tree
- How to Tell If It’s an Opener Problem or a Door Problem
- Force and Limit Adjustments on Chamberlain, Genie, and LiftMaster
- Why “Works Sometimes” Usually Means a Logic Board or Wiring Issue
- The Cable Drum Inspection That Catches 30% of Mystery Failures
- Roller Wear, Lubrication, and the Salt-Air Problem in Miami
- Safety Sensor Problems: Alignment, Wiring, and Sunlight Interference
- Common Mistakes to Avoid
- When to Call a Professional
- Frequently Asked Questions
The Symptom-to-Cause Decision Tree: What Each Sound and Behavior Actually Means
Garage doors are mechanically simple systems with surprisingly specific failure signatures. A grinding noise and a squealing noise are two entirely different problems, even though homeowners tend to lump them together as “it sounds bad.” Here’s what each pattern tells you, based on what we see in Miami garages week after week.
A Loud Bang (Like a Gunshot)
This is a torsion spring snapping. Torsion springs sit on a metal shaft above the closed door and hold tension every minute of every day. When one breaks, the released energy makes a sharp crack that homeowners across Coral Gables and Kendall have described to us in identical terms. If you hear this sound and the door won’t open, do not try to force it. The spring needs replacement, and working on torsion springs without the proper winding bars and training is genuinely dangerous. More on this in the safety sections below.
A Steady Grinding Sound During Operation
Grinding is metal-on-metal contact that shouldn’t be happening. The usual culprits are worn rollers (especially the ball bearings inside steel rollers), a misaligned track, or an opener gear that’s stripping out. On LiftMaster and Chamberlain openers, a worn drive gear produces a distinct grinding growl that gets worse as the door moves. On Genie screw-drive models, a dry screw produces a grinding whine. The fix for worn rollers is replacement, not lubrication; the fix for a dry Genie screw is a specific white lithium grease application.
Slow, Labored Movement
A door that moves noticeably slower than it did a year ago is telling you one of three things: the springs are losing tension (they weaken over time), the rollers or hinges need lubrication, or the opener’s force settings are set too low. In Miami’s humid climate, corrosion on the roller stems and hinge pins adds friction that accelerates this slowdown. Start with lubrication. If that doesn’t help, a spring tension check by a professional is the next step.
Opens Partially, Then Stops or Reverses
This pattern almost always traces to either an obstruction triggering the safety reversal, a misaligned safety sensor, or an opener limit that needs adjustment. Check the sensor lights first (both should be solid, not blinking). Check for debris in the track. Then check the limit settings. If the door opens six inches and stops, the up-limit may be set too low. If it opens fully and then reverses before touching the floor, the down-limit or close-force setting needs adjustment.
How to Tell If It’s an Opener Problem or a Door Problem: The Manual-Release Test
Every garage door system has two independent components: the door itself (panels, springs, rollers, tracks, cables) and the opener (motor, logic board, remote, wall button, safety sensors). They fail independently, but their symptoms overlap. Before calling anyone, you should run the manual-release test. It takes 60 seconds and tells you which half of the system has the problem.
The Test, Step by Step
- Close the door completely.
- Locate the red emergency release cord hanging from the opener rail. Pull it down firmly until you feel it disengage.
- Lift the door by hand using the handle or the bottom edge.
- Observe what happens.
Here’s what the results mean:
- The door lifts smoothly and stays open by itself: The door is fine. Your problem is in the opener: remote, logic board, wall button, or wiring.
- The door is heavy and hard to lift: The torsion springs have failed or lost tension. The opener has been working against a door that’s effectively dead weight, which explains why the opener is struggling or burning out. This is the most common “opener failure” we diagnose in Miami that’s actually a spring failure.
- The door goes up but immediately drops: The springs are completely shot. The door weight is entirely unassisted. Do not leave the door open in this condition.
- The door binds at a specific point in the travel: You have a track issue, a bent panel, or a roller binding. This is a door problem the opener is simply failing to overcome.
The manual-release test is the single highest-value diagnostic you can run before picking up the phone. When you call a technician, tell them the results. It saves a trip charge in some cases and makes the actual repair faster in every case.
Force and Limit Adjustments on Chamberlain, Genie, and LiftMaster Openers
Force and limit settings control how far the door travels and how much resistance the motor pushes through before reversing. These settings drift over time, especially after power outages, minor door impacts, or component replacements. On a significant number of “broken” openers, the fix is a two-minute adjustment that requires no tools beyond a ladder and a screwdriver.
Important Safety Note First
Force and limit adjustments are accessible to homeowners on most openers, but the force setting specifically exists as a safety feature. Setting the force too high disables or weakens the auto-reverse, which is the mechanism that prevents the door from crushing someone. Adjust force conservatively and test the reversal immediately after making changes. If you’re not confident, this is exactly the type of adjustment we handle routinely at Garage Door Opener Repair in Miami.
Chamberlain and LiftMaster (Chain and Belt Drive)
Chamberlain and LiftMaster openers share the same logic board architecture (Chamberlain owns LiftMaster). On units manufactured in the last 15 years, the limit and force adjustments are digital, accessed through the wall control panel or a small LCD panel on the opener body. Older units have two dials on the back: up-force and down-force, plus limit screws on the rail. The digital path: hold the adjustment button until the display blinks, then use the arrow buttons to set the up limit, down limit, and force for each direction. Test the reversal by placing a 2×4 flat on the floor under the door’s path: the door should reverse within two seconds of contact.
Genie (Screw and Belt Drive)
Genie openers use a different adjustment interface: screw-head limit controls on the opener body or a round black cap that opens to reveal limit nuts. On newer Genie models with a wall console, limits are set through the programming menu. Genie force settings are typically not user-adjustable on residential units in the same way Chamberlain’s are; Genie uses an adaptive force sensing system that learns the door’s weight profile over time. If a Genie is reversing mid-travel for no apparent reason, a force reset (holding the learn button for 10 seconds, then cycling the door) often corrects it.
In our experience serving homeowners from Brickell to Pinecrest, limit drift is especially common in homes that lose power frequently during hurricane season. A power surge or brownout can corrupt the limit memory on older logic boards. If you adjust the limits and the door still doesn’t travel correctly, the logic board itself may be the problem.
Why “Works Sometimes” Usually Means a Logic Board or Wiring Issue, Not a Sensor Problem
An intermittent opener is one of the most frustrating garage door problems, and it’s also one of the most misdiagnosed. Homeowners assume the problem is the safety sensors because the sensors are the only part of the system they can see and touch. But intermittent operation, where the door works fine for days and then refuses to close on a Tuesday morning, almost always traces to a logic board or wiring issue. Here’s the distinction.
Sensor Problems Are Consistent
A misaligned or obstructed safety sensor produces a consistent symptom: the door opens fine but will not close under any circumstances, or closes only when you hold the wall button down. The sensor lights blink or go out. The behavior doesn’t vary from day to day. If your door behaves the same way every time, suspect sensors.
Logic Board Problems Are Intermittent
A failing logic board produces intermittent symptoms because the failure is heat-related or component-related rather than positional. The board’s capacitors degrade over time, especially in Miami’s heat and humidity, and they fail under load or at certain temperatures. The symptom pattern: the remote works sometimes but not others, the wall button works but the remote doesn’t, the door opens but will not close, then works fine the next day. If you’ve replaced the remote battery and the sensors look aligned, and the problem persists unpredictably, you’re likely looking at a logic board replacement.
Wiring Issues Hide in Plain Sight
In older Miami homes with original wiring, and in garages that have been through termite remediation or repeated humidity cycles, wiring insulation degrades. A wire that’s loose at the terminal or damaged inside the wall can cause intermittent power drops to the opener. Check the two low-voltage wires connecting the wall button to the opener and the safety sensor wires running along the track. A loose wire nut or a corroded terminal can mimic a much more serious problem.
On an opener from LiftMaster, Chamberlain, Genie, or Craftsman, the logic board is replaceable, and the cost is typically a third of a full opener replacement. A brand-agnostic technician who knows the difference between a board failure and a sensor failure will save you the cost of replacing parts that weren’t broken in the first place.
The Cable Drum Inspection That Catches 30% of Mystery Failures
Here’s a diagnostic step that appears in almost no consumer troubleshooting guides, which is exactly why we’re including it here. The cable drums are the spool-like fixtures at each end of the torsion spring shaft above the door. The lift cables wind onto these drums as the door opens. When a drum is seated incorrectly or the cable slips the drum, the door opens crookedly or binds at a specific point in travel. Homeowners often describe this as “the door is struggling” or “it sounds strained,” and they replace the opener motor without ever looking at the drums.
What to Look For
- Close the door and stand inside the garage, looking up at the spring shaft above the door.
- Examine the drum on each end. The cable should be wound evenly across the drum surface, not bunched on one side or overlapping.
- Trace the cable down to the bottom bracket. It should be taut and straight, with no fraying.
- Check the cable is seated in the drum groove. If it’s riding on the lip of the drum, that’s a problem.
- Look for a gap between the drum and the bearing plate. A drum that has slid outward means the set screw has loosened.
A cable drum that’s out of position causes uneven lift forces on the door, which strains the opener, wears the rollers unevenly, and eventually destroys the door panels. The fix is a drum reset, which involves releasing spring tension in a controlled manner and reseating the cable. This is not a DIY job. Torsion spring tension is stored energy, and releasing it incorrectly is the most common cause of serious garage door injury. In Miami, where garage doors see daily use and high humidity, cable drum inspection is part of every tune-up we perform.
If your door opens crooked or makes a grinding noise near the top of its travel, check the drums before you do anything else. It’s a 30-second safety and diagnostic check that catches what we estimate to be 30% of the “mystery” failures we’re called out for.
Roller Wear, Lubrication, and the Salt-Air Problem in Miami
Garage door rollers are the wheels that carry the door along the track. They wear out, and in Miami they wear out faster than in most of the country. The combination of salt air near the coast, high humidity, and daily sun exposure on the garage face creates a microclimate that oxidizes steel hardware and degrades lubrication faster than inland climates. Rollers should be inspected annually, and in coastal neighborhoods like Coconut Grove, Key Biscayne, and Miami Beach, they often need replacement every three to five years instead of the seven-to-ten-year lifespan common in drier regions.
Signs Your Rollers Need Attention
- The door squeaks or rattles during operation, especially when it’s been hot outside.
- Visual inspection shows visible rust on the roller wheels or stems.
- The door shudders or vibrates as it moves, rather than gliding smoothly.
- Rollers are visibly worn flat on one side, indicating they’re no longer rolling but sliding.
Lubrication: What to Use and What to Avoid
Use a garage-door-specific spray lubricant or white lithium grease on the roller stems, hinges, and spring coils. Do not use WD-40 as a lubricant; it’s a solvent and will strip the existing grease. Do not lubricate nylon rollers themselves; their sealed bearings don’t take grease. In Miami’s humidity, we recommend a silicone-based lubricant that won’t attract dust and grit. Lubricate twice a year: once before hurricane season and once after, when salt residue has had a chance to settle.
Nylon rollers with steel bearings are the best replacement choice for Miami coastal homes. They run quieter and resist corrosion on the wheel surface. Steel rollers are heavier-duty but rust faster. If you have original steel rollers in a Coral Gables home built in the 1990s, they likely need replacement now regardless of how the door operates.
Safety Sensor Problems: Alignment, Wiring, and Sunlight Interference
The photoelectric safety sensors mounted near the floor on each side of the garage door are the most common source of “door won’t close” complaints, and in a Miami-specific twist, they’re also the most common false alarm. Here’s the direct answer: safety sensor problems are the cause of the door refusing to close in roughly half of all “won’t close” calls, and the fix is usually realignment, not replacement.
How to Diagnose a Sensor Problem in 60 Seconds
- Look at both sensors. Each has a small LED light.
- Both lights should be solid. One solid and one blinking means misalignment. Both off means a wiring or power issue.
- If one or both lights are blinking, gently adjust the sensor until both lights go solid.
- If both lights are solid and the door still won’t close, check for objects in the door’s path and for debris between the sensors.
The Sunlight Interference Problem
In Miami, the low angle of the sun in winter months can blind a safety sensor. The photoelectric beam gets washed out by direct sunlight, and the sensor thinks it sees an obstruction. If your door won’t close only at certain times of day, usually late afternoon when the sun is low in the western sky, this is likely the issue. The fix is to shade the sensor or swap the two sensors (sending and receiving), which changes the beam direction. Some sensors can be equipped with a small shield. This is a known issue with Wayne Dalton, LiftMaster, and Genie sensors alike.
Sensor Wiring Problems
The sensor wires run along the track from the opener to the floor sensors. In Miami garages where the track has been bumped, had boxes stacked against it, or been through a storm with strong winds, wires can get pinched, nicked, or disconnected. A loose connection at the screw terminal on the back of the sensor produces a blinking light or no light. Check the connections before replacing anything.
If you’ve confirmed the wiring is intact, the sensors are aligned, and the door still won’t close, the problem is upstream: either the logic board isn’t reading the sensor circuit correctly or the opener’s force settings are too low to complete the close cycle. Both are jobs for a technician, and both are within the scope of Garage Door Repair in Miami.
Common Mistakes to Avoid
Most repeat garage door failures we see in Miami come from well-intentioned attempts to fix the first failure the wrong way. Here are the specific mistakes that cost homeowners the most money and time:
- Replacing the opener when the springs are the problem. The opener is the most visible part of the system, so it gets the blame. But a door with failed springs is dead weight, and the opener is working against that weight. New opener on old springs equals another failure in 12 to 18 months.
- Lubricating worn rollers instead of replacing them. Lubrication buys a week or two of quiet operation. Worn rollers with flat spots or damaged bearings need replacement. Lubricating them just spreads grinding noise quieter for a while.
- Ignoring a slow door. A door that’s gradually slowing down is a door with a developing problem: weakening springs, binding rollers, or a dying opener gear. Waiting until it stops entirely turns a $150 fix into a $450 emergency.
- Adjusting the force setting without testing the auto-reverse. The force setting is a safety mechanism. Set too high, the door won’t reverse when it should, and that’s how people get hurt. After any force adjustment, test the reversal with a 2×4 on the floor.
- Replacing the safety sensors before checking alignment and wiring. Sensors rarely “die.” They almost always get bumped out of alignment, wired incorrectly, or blinded by sunlight. A $20 alignment fix beats a $90 sensor replacement.
- Attempting torsion spring work without the right tools. Torsion springs hold massive stored energy. The winding bars used to adjust them are specific tools, not improviseable substitutes. Every serious garage door injury we hear about traces back to someone attempting a spring repair with the wrong equipment.
- Using the wrong lubricant. Grease meant for automotive chassis is too heavy for garage door rollers. It attracts dirt and turns into grinding paste. Use a garage-door-specific silicone or lithium spray, and don’t spray it into the track itself.
When to Call a Professional
Most of the diagnosis in this guide is safe for a homeowner to perform, but there are clear lines where the work should stop and a technician should start. If you have a broken torsion spring, call a professional. If the door is sagging on one side or won’t stay open in manual mode, call a professional. If you hear grinding from the opener gear, that’s a repair job. If your logic board is intermittent, that’s a diagnostic job. And if you’ve tried the safe adjustments and the door still isn’t working right, the fastest resolution is a professional diagnosis. Craftsman Garage Door Repair offers free estimates in Miami. Call (844) 734-6077 and tell us what the door is doing. The diagnosis gets faster when we know what you’ve already observed.
Frequently Asked Questions
Garage door repair in Miami typically runs between $75 and $250 for most minor fixes like roller replacement, sensor realignment, or limit adjustment, while spring replacement runs $180 to $340 depending on the spring size. The exact price depends on the diagnosis, and something we do at Craftsman Garage Door Repair is quote the price before work starts so you’re never surprised by the invoice. Call (844) 734-6077 for an exact quote; estimates are free.
The most common cause is a misaligned safety sensor or an obstruction in the door’s path. If the sensor lights are blinking, realign them. If the lights are solid and the door still won’t close, the logic board or force settings may be the issue. This is one of the most frequent calls we handle in Miami, and the fix is usually quick when diagnosed correctly.
No. Torsion springs are under high tension and even experienced professionals treat them with serious respect. The process requires winding bars, a strict sequence, and knowledge of how to release stored energy safely. If your door won’t open with a loud bang preceding it, that’s a broken spring. Call a professional. This is not a job for a heroic DIY attempt.
Pull the red emergency release cord while the door is closed, then lift the door by hand. If the door lifts smoothly and stays open, the door is fine and the problem is in the opener. If the door is heavy, the springs have failed. This one test takes 60 seconds and saves you from replacing a $200 opener when a $250 spring was actually the issue.
The limit setting controls how far the door travels. The force setting controls how hard the motor pushes against resistance. Both are adjustable on Chamberlain, LiftMaster, Genie, and Raynor openers. A door that reverses before hitting the floor usually needs a limit adjustment. A door that reverses on contact with the ground is a force issue. Both adjustments are covered in the opener-specific section above.
Craftsman Garage Door Repair is trained and experienced on eight industry-leading garage door and opener brands, including LiftMaster, Chamberlain, Genie, Clopay, Amarr, Wayne Dalton, Craftsman, and Raynor. We work on the brand you already have, and that’s the point: no upselling to a preferred brand, no one-size-fits-all approach. If it’s a garage door system, Garage Door Installation in Miami and repair are both within our scope.
The Bottom Line
Garage door repair troubleshooting is a diagnostic process, not a parts-shopping exercise. The door tells you what’s wrong if you know how to listen: loud bangs are springs, grinding is rollers or gears, slow movement is friction or spring fatigue, and intermittent behavior is usually electrical. The manual-release test splits the entire system into two halves and tells you which one has failed. The cable drum inspection catches problems before they destroy the door. And the line between safe DIY and professional-only is clearest at the torsion spring: never touch it yourself. When you need an accurate diagnosis and the right fix, call Craftsman Garage Door Repair at (844) 734-6077. We quote before we work, we service every major brand, and we fix what you have rather than steering you toward what we’d rather sell.
Written by the team at Craftsman Garage Door Repair, serving Miami since 2012.
See the difference
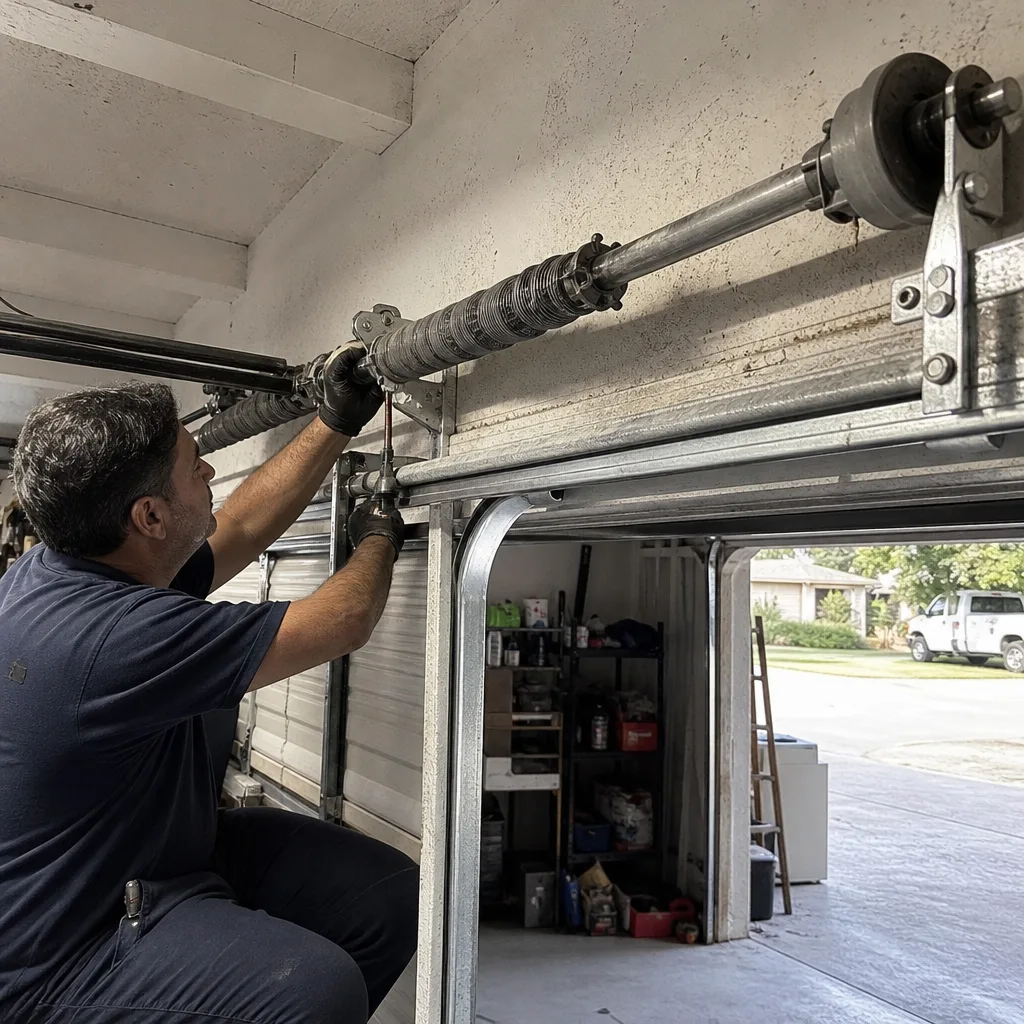 Before
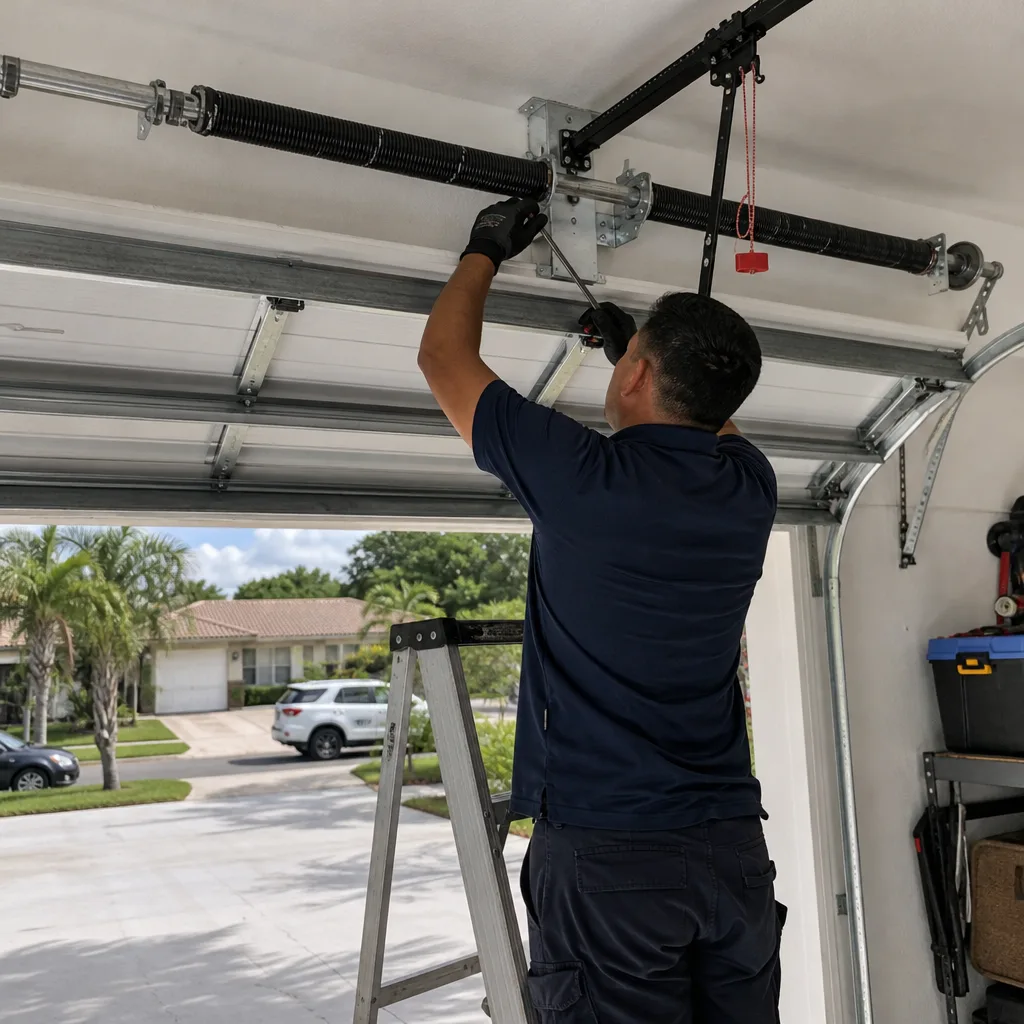 After
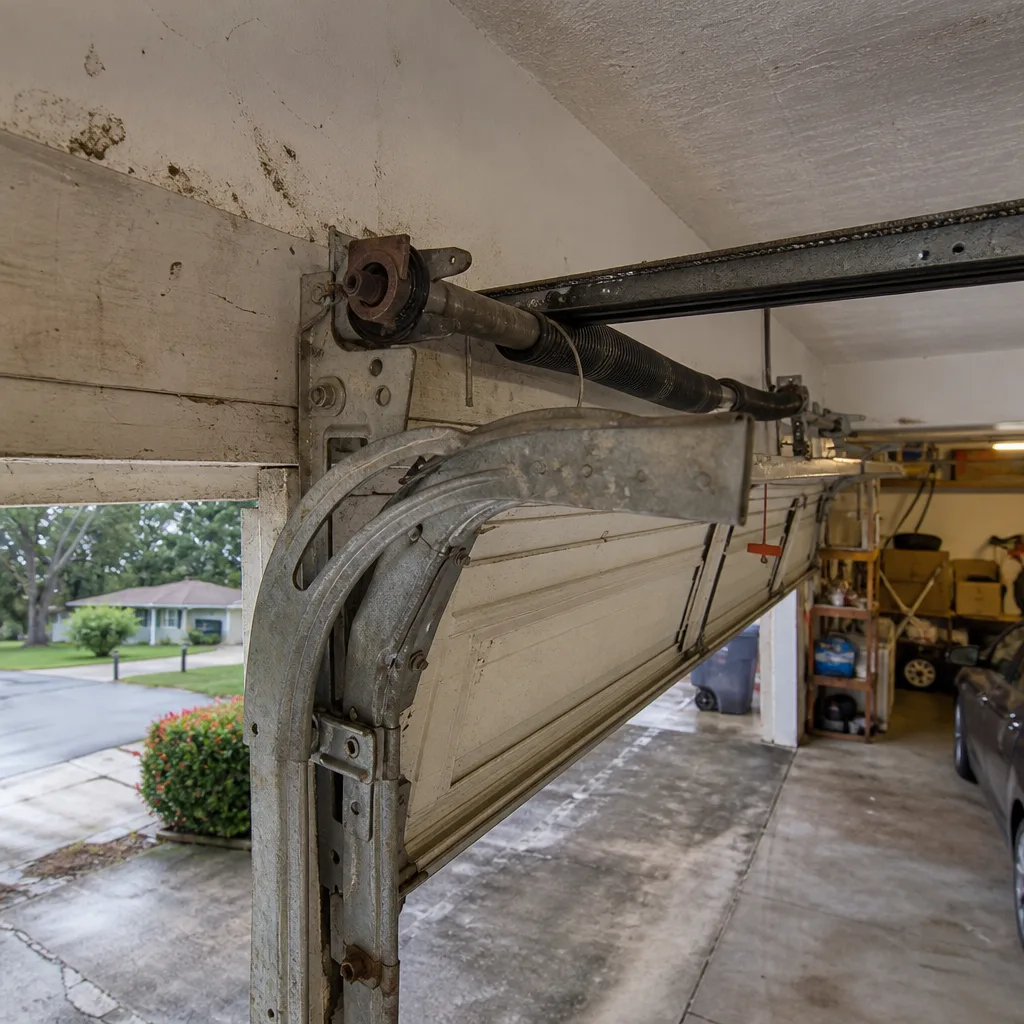 Before
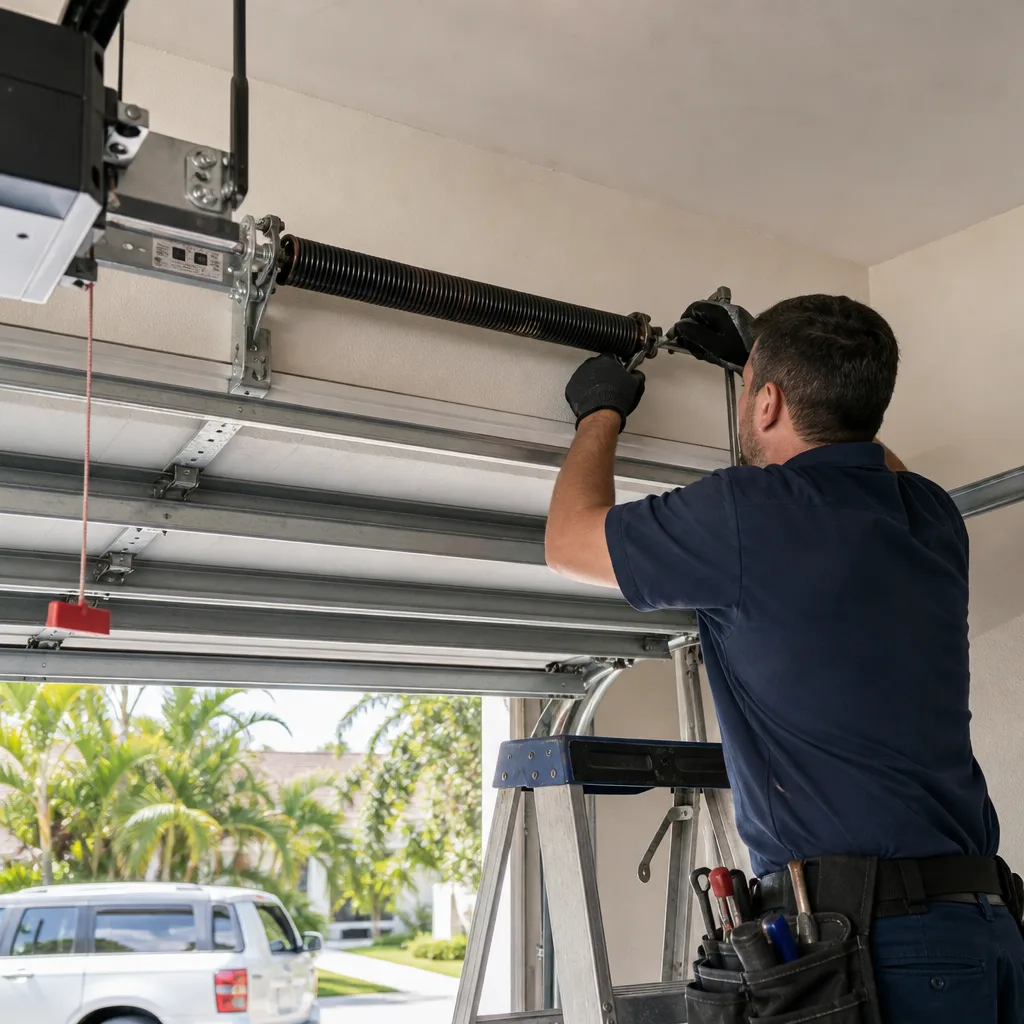 After
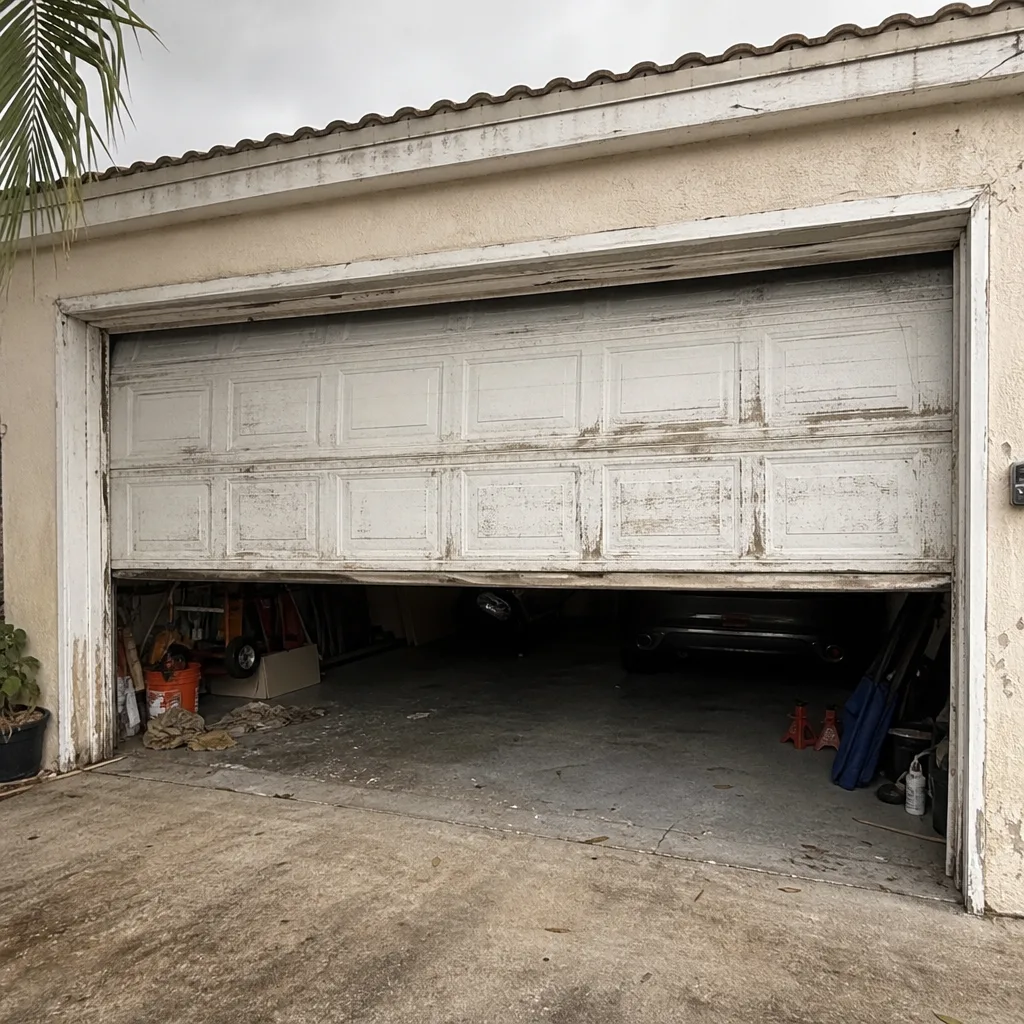 Before
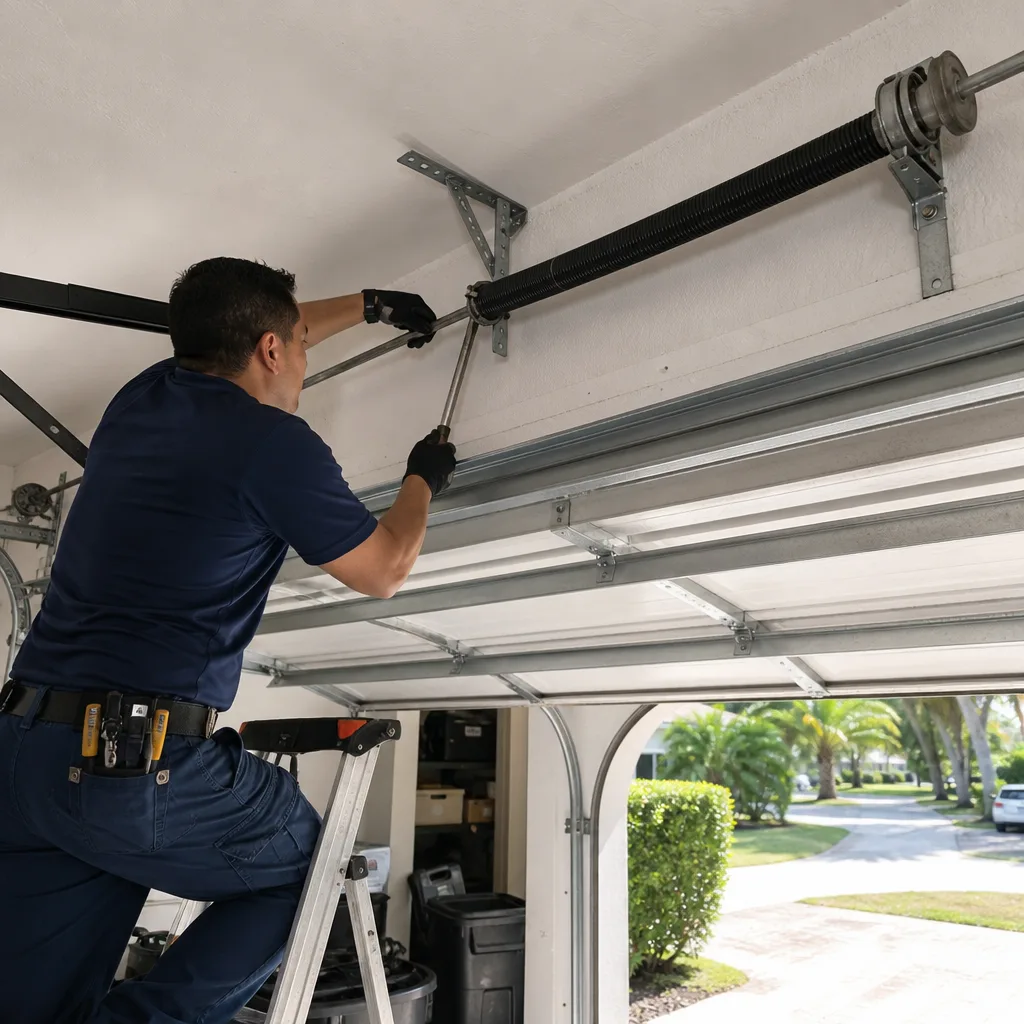 After